
Today I'll take a look at all three of the Steelhead weapon crews and the Arcanist.

The Arcanist is first up, as you can see from the pictures it comes in three pieces. It was interesting that the body is in resin. In the UK we often get metal instead.

The quality of this sculpt is fantastic, there is so much detail, especially compared to some of the older Steelhead models. The mold lines are minimal on this as well which is fantastic. The only negative I have about this is that he has an eye patch, which makes it look a bit daft if you have three of them in your army (they are field allowance 3).

Small resin injection port on the bottom of the cape, great place for it as its easy to clean off from there.

The staff is metal and well cast, the pole is quite thin so I will have to be careful about transporting it as I feel it would be easy to bend.


His other hand is pointing out as if casting a spell, which adds some dynamic action to the mini.

The crew members for all the options of artillery share the same sculpts, which makes a lot of sense from a business perspective for PP but is slightly disappointing if you are bringing a lot of them in the same army. Especially compared to the variety of sculpts for crew members other artillery like the trencher chain gun and cannon crew have.

This guy is opening a box of ammo for the weapon, nice detail and posture in this mini.

The armour and equipment on these guys matches the other steelhead minis really well.

Its good that we can't see into the box, this lets it fit with all three weapon types.


The spotter for the group is equipped with a spyglass, there are slight mold lines done it on both sides, the internal part between the spyglass and the arm will be a little tricky to file down.


His arm is posed in a signalling position, this part does have a mold line running right through it unfortunately.


This kneeling figure is the gunner which goes onto the base with the weapon itself.

He has a really nicely detailed face, including a bushy moustache! Painting this will be tricky but worthwhile as I'm thinking it will really add character.


One hand is posed that it can be placed resting on the main weapon, the other seems to be holding some sort of fuse lighter.


These are the parts for the Volly gun. First we will take a look at the parts which all three weapons share though.

The main chassis of the weapon crews is shared among all three. All three of mine seem to be slightly bent to one side, I'm not sure if this is intentional or not. It doesn't seem to have any real effect on the model though, and is not overly obvious.


The wheels are another shared item as you might guess they have a great reinforced look with metal barding around the rim. This fits great given the weight they would be carrying.

The last part they all share is this small handle, it attaches in different places on each weapon but is they to show how they would be fired.

The gun shield for the Volly gun has a strange shape and doesn't protect much to be honest. Might be interesting to paint some free hand on the front of it though.


The barrels for the gun have some slight flashing in between them which looks easy enough to remove buy just running a hobby knife down them.

The ends of the barrels surprised me by having the flint lock looking parts that rifles in the setting have, I had thought that this type of gun would work differently but I guess I was wrong on that one!

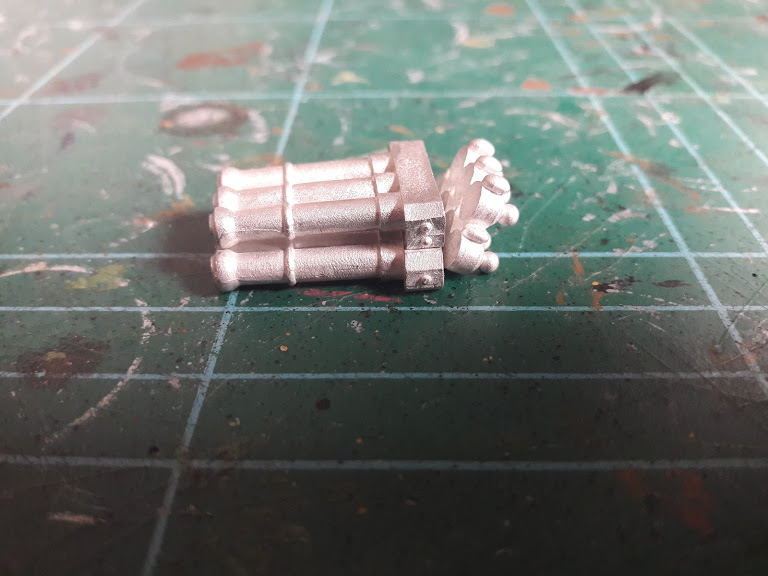

This weapon also comes with a crank handle for the crew to change the elevation of the weapon, a nice detail.


The mortar comes with these pieces

The gun shield for this one is tiny! It does make sense I guess as it would be the furthest from the fighting.

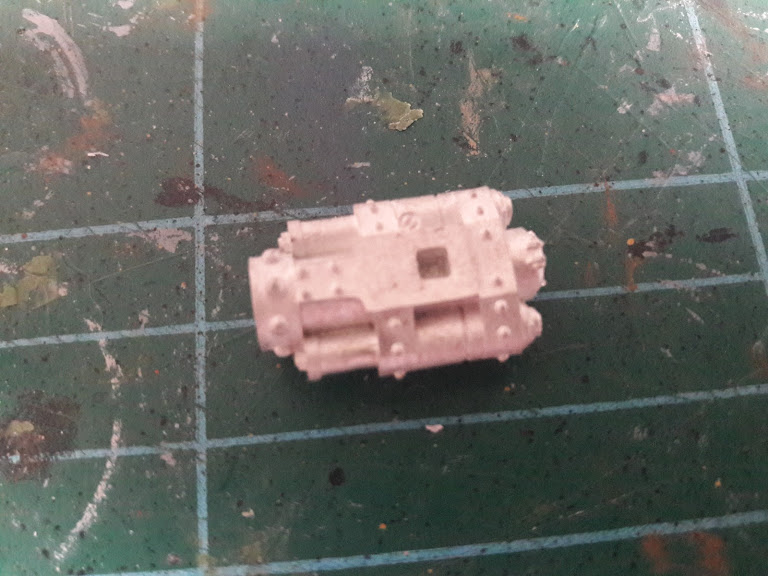

Some slight excess metal on the end of the mortar, likely an injection port. This will need cutting off then filing down.


These gear parts are to represent the weapon being angled to fire. I think they are a great touch. I was unsure which way to attach them to the gun, I checked the stock picture of an assembled one on PP's website and figured it out from there.

The cannon is much bigger than I expected

The gun shield for this one is by far my favourite, it really looks like it could protect the gunner and even has sight holes which is a nice touch.


The cannon has slight battle damage (or transport damage) with some nicks taken out of it


Some flashing on the end of the barrel which will need to be removed and filed down but over all very few mold lines on this gun.

Looks like this one is a rear loaded cannon, you can see the hole on the side of the gun where the firing handle fits.

And here they all are assembled!

For once I didn't feel the need to pin the arms on these guys. The plugs for attaching the arms where well designed and worked well enough for me not to need to.


I haven't glued the gunner to the base of any of the weapons, he is so close I figured it would make him very hard to paint. I don't normally like to paint in sub assemblies but this seemed like the best way forward.


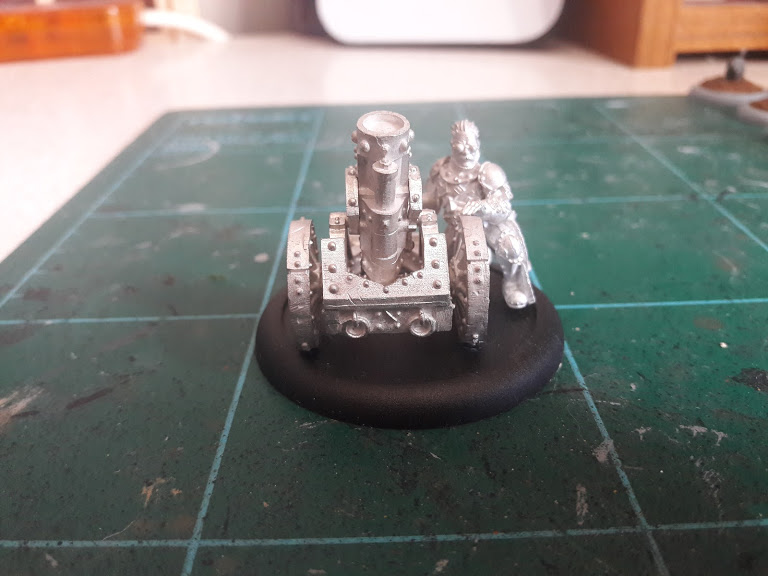

The mortar is angled really high! I do like that personally as thats how they would be aimed in real life.


I'm now wondering how to convert future Arcanists so that they don't look like clones...


What do you think of these Steelhead models?
I know these have been out for a while but I hope you found my thoughts on them helpful/entertaining at least.
You can pick them up here via my affiliate link (The Outpost, UK Webstore)


